Wednesday, June 23, 2010

Memo Boards

I've seen posts allover blog land about these memo boards and I've realllly been wanting to try one...or two. I had three matching frames I was going to put in Angelica's room but I decided I didn't like how they turned out. Two of those three frames quickly became memo boards that I love! They're incredibly simple and quick to make. Hanging them is another story. I clearly don't have that skill because my attempt to hang them resulted in embarrassing marks and holes...So, for now there is no picture of them hanging.

Supplies:
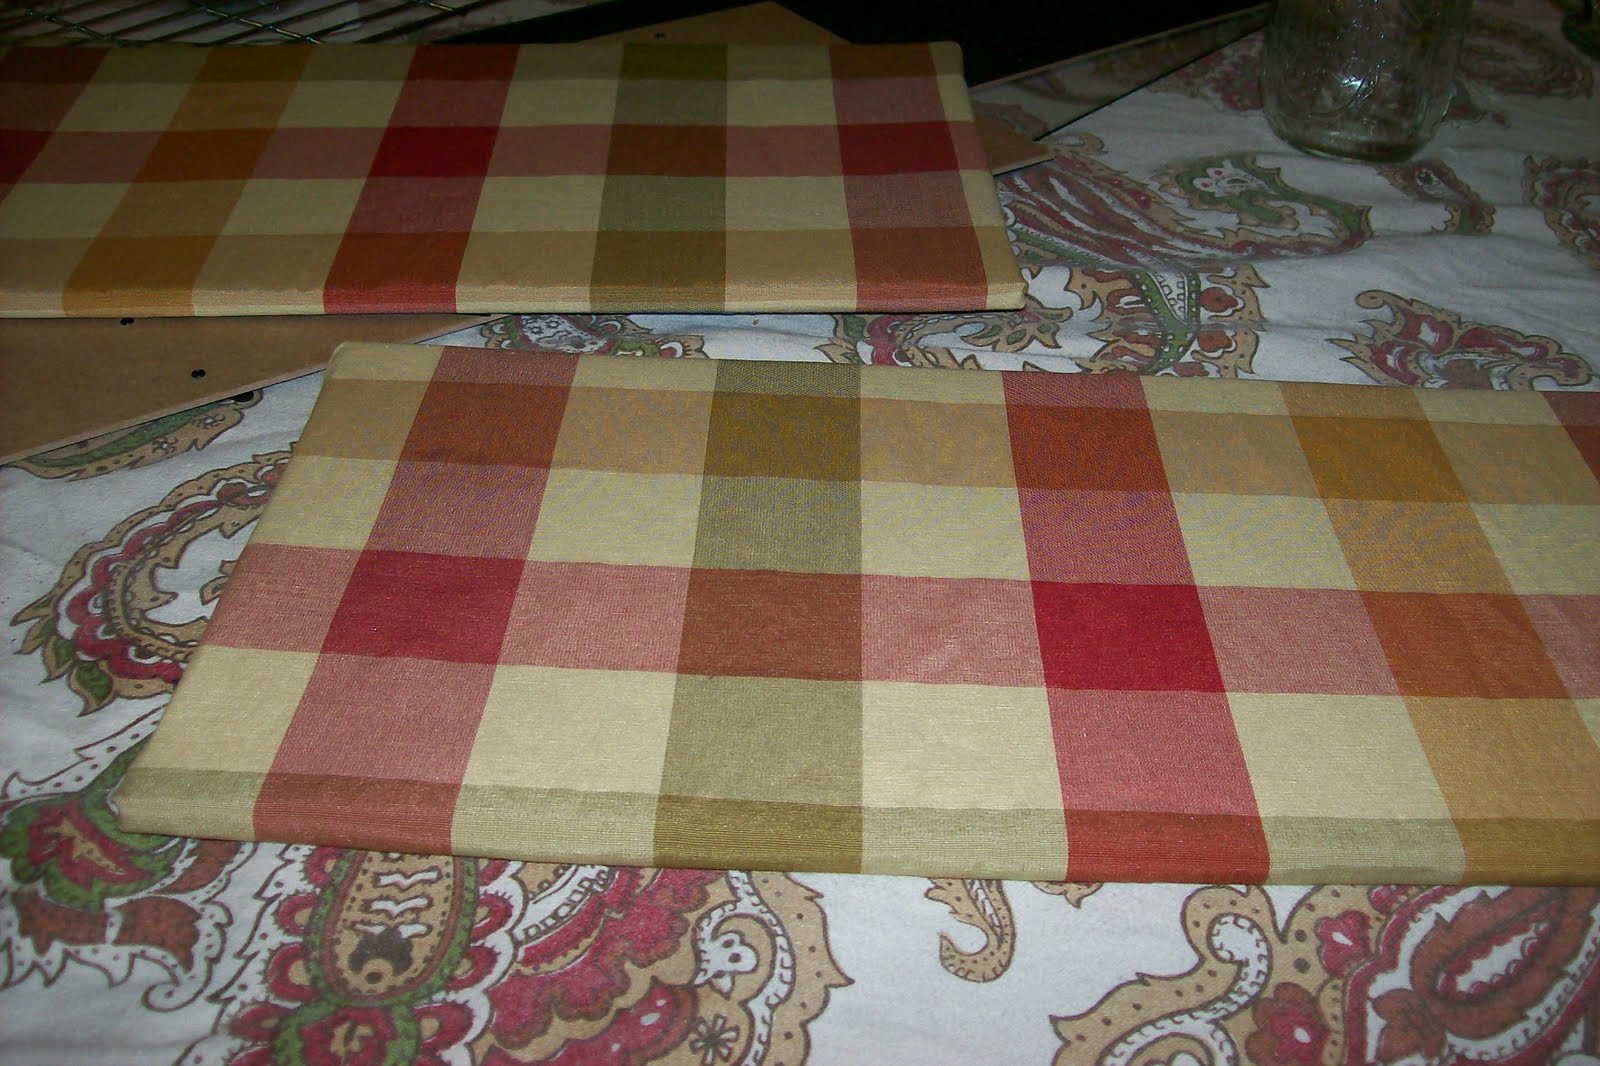
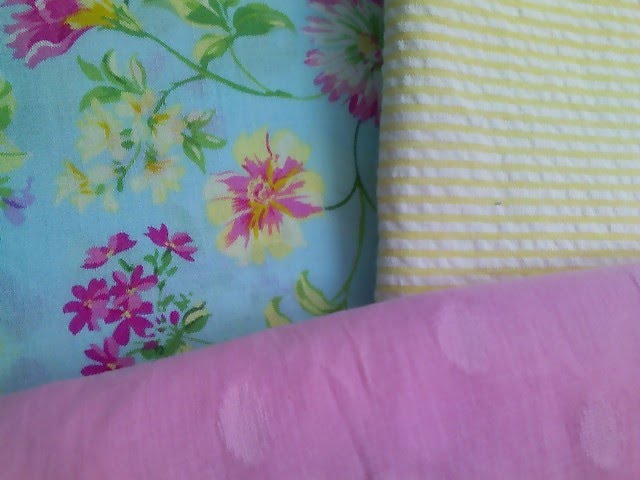
Scrap fabric from sun room curtains
Painters tape
2 frames with matting
Permanent Marker
Outline words printed off computer to trace
Paint

Steps:
1. Paint frames.
2. Wrap mats that came with the frames with curtain fabric. Tape fabric onto the mats.
3. Print out words of choice in the font of choice! Color them in with marker to darken them.
4. Tape them to the OUTSIDE of the glass, BACKWARDS. Trace on the other side of the glass. This way you can clean the outside without wiping away the lettering and the lettering will face the right way.
5. Reassemble and hang!


Tuesday, June 22, 2010

A How-To With Pictures

This project was super cheap. I used tape, brushes, paint, ribbon, envelopes, and fabric that I all ready had. I bought two poster boards, two sets of large thumb tacks, and a pack of paper gift tags from Dollar Tree. Some pictures must have been deleted from my camera before I could put them on my laptop...so if they seem a bit jumpy, that is why!

Bulletin Boards:
1. Cut one board in half, stack, and glue together.
2. Wrap the boards with the fabric and tape it in place on the back.
3. Cut and place ribbon...tack it in place.
4. Paint the thumb tack tops.

Chore/Reward System:
1. Put a C, for chores, and an R, for rewards on the envelopes.
2. List several chores and rewards on coordinating tags.
3. Attach envelopes to the bulletin boards with velcro.
4. Put chore cards in the chore envelope...put reward cards in the reward envelope.


Curtains!!

I really like making my own curtains whether I start with sheets, fabric from a bolt, or curtains that I'm altering. I'm not claiming to be an amazing seamstress or that the curtains I make rock...but...I like them! I'm planning on getting a different curtain rod. The one I have up now is great for valances but these curtains need something else.


Sunday, June 20, 2010

Not exactly curtains...

So, I said I'd have a post on the curtains for Angelica's room on Sunday...but I don't. Really, it's now very early Monday so I'm even further behind. I've been distracted by Father's day happenings and playing around with ideas for making a headboard for my king size bed.

I've been planning on using a door of some sort to make this headboard for a while now and just have not gotten my act together. I was a little muddled on what thickness for which boards. I checked out some plans of Ana's at http://www.knock-offwood.com/ and her ideas on measurements really helped me out! I'm not doing the whole bed at this point, I'm not using panels in the middle like she does on hers, and I've changed some measurements but the plans end up looking very similar. The picture below is what my original goal was. I was planning on using a 30x80 hollow core slab door (I still am!) in this plan. Yes, I have a lot of time on my hands. Yes, this is how I want my bedroom to look. Yes, this was done at 3 am months ago when I was bored...sleeping had not occurred to me.


These are the plans I've concocted. Hopefully they will actually work. As of right now my plan is to take this with me to Lowe's and Home Depot to check prices. I'm assuming the prices are similar (the stores are RIGHT next to each other) but I can't buy without checking first. The store will cut the boards to the lengths I need them so all I'll have to do is come home and figure out how to piece this thing together. Gorilla Glue, anyone?


Saturday, June 19, 2010

How to make easy and cheap wall decor Liz style!

Step 1: Buy an inexpensive book off Ebay that has pictures you like...


Step 2: Steal dollar store plaques off your bathroom walls because you really are just looking for an excuse to re-do (was it ever really done in the first place???) that room...


Step 3: Cut pictures out of the book while cringing because this isn't how we treat books!


Step 4: Glue or mod podge the pictures to the plaques and let dry.

Drum roll please........and here is the finished product!


The pictures make them look so small on the walls but I quite like how they look in the room! This is what my dining room table has looked like for the past several days. I have many posts with new projects (bulletin boards, chore/reward system, curtains, tray, knick knacks, bathroom, and much more) to be posted in the near future!

New Fabric Theme!

Here are the fabrics I picked out for Angelica's room! I LOVE them! The pink is going to be used for curtains. The yellow is for pillows (this matches the chair I upholstered). The blue flower fabric is for a bed skirt and some pillows. I'm still trying to decide if I will applique some of the blue flower fabric to the pink comforter.

I'll having pictures of the process and some of the finished results up tomorrow. I don't have any filling for pillows so those are going to remain empty until I can get up the nerve to go back to the store (I haaaaaate Walmart and there isn't another cheap option for stuffing here).

This picture isn't the best because I took it with my cell phone outside.


Completed chair using the yellow fabric.

Tuesday, June 15, 2010

U-Turn...I changed my mind!

I've decided I'm not loving the bedding for A's room. Well, I love the bedding but I don't love it IN HER room. I was hoping to play it down and make it more childish by using the lightest green and pink in the set for the color theme but it just isn't working the way I wanted it to. I had a pink comforter in her room before I started this. I think I am going to keep it on her bed and make a new bed skirt and curtains. I can't decide if I'm buying fabric or flat sheets to make them though. In the end the price difference and what is available will be my deciding factors. I think I am definitely feeling a plain bed set with lots of pillows and patterns. This just gives me more freedom to take the room in the direction it's heading on it's own! Below is a picture that shows both the bedding I'm canning, the pink comforter, and some of the art work for A's room. A post on how I made the art will follow!

Sunday, June 13, 2010

Progress, I have it!

I've made quite a bit of progress since I posted last! At this point, I think the room may be 90% done. I still need to finish painting the bed and 3 drawers, apply the name wall sticker, and hang two more pieces of art that are halfway done. Other than that, I don't have anything else left to do! Well, I may still paint but after seeing all the art work on the walls I don't think I really NEED to in order to make the room look finished.

Soooo....This "art piece" started with the fairy book, a cheap picture/frame combo I all ready had, and some paint. The letters in the fairy pictures are my daughter's initials.


Tuesday, June 8, 2010

Show and Tell

I've made a tiny bit of progress. Instead of listing what I've done so far I'm just going to show you with pictures!

Wall stickers have been applied...


Here is the pain in the butt bed all put together and the curtains...


Bed again and the night stand...


One corner...


Another corner and the dresser...


The chair I am going to recover...


I know that last picture doesn't fit in the "done so far category" but I figured I'd put it in this post to save time...because I am so very, very busy. :)

To-Do List:
Finish painting the bed
Paint the three unfinished dresser drawers
Find and attach drawer pull for the night stand
Make throw pillows for bed
Recover chair
Paint tv/book stand
Paint the walls...yes, I'm starting to think the room just won't look done otherwise
Hang the mirror
Art work
Apply the name wall sticker
Move the old headboard out

The room is looking very plain to me. Hopefully with paint and art work that will change!